Even as a professional photographer, I have to admit that I LOVE having my iPhone on me at all times to take in the moment, day-to-day pictures on the go. If the lighting is sufficient, I can typically get a decent 4×6″ print from my phone as well, so I am not scared to use that when traveling, at the playground, in the stores, etc.
There is an art though, to being able to consistently take a decent picture with our phones. There is so much I want to share with you, so I have broken this into a three part series: basic tips + tricks, understanding light, and lastly editing.
Though I am not a Mother myself, I spent nearly twelve years of my life as a nanny, helping to raise, teach and love other people’s babies. That is actually how I ended up as a Motherhood Photographer- I was always trying to outdo the picture of the day that was sent to their parents. Here are somethings I learned that helped me big time.
***All of these images were taken with my iphone11***
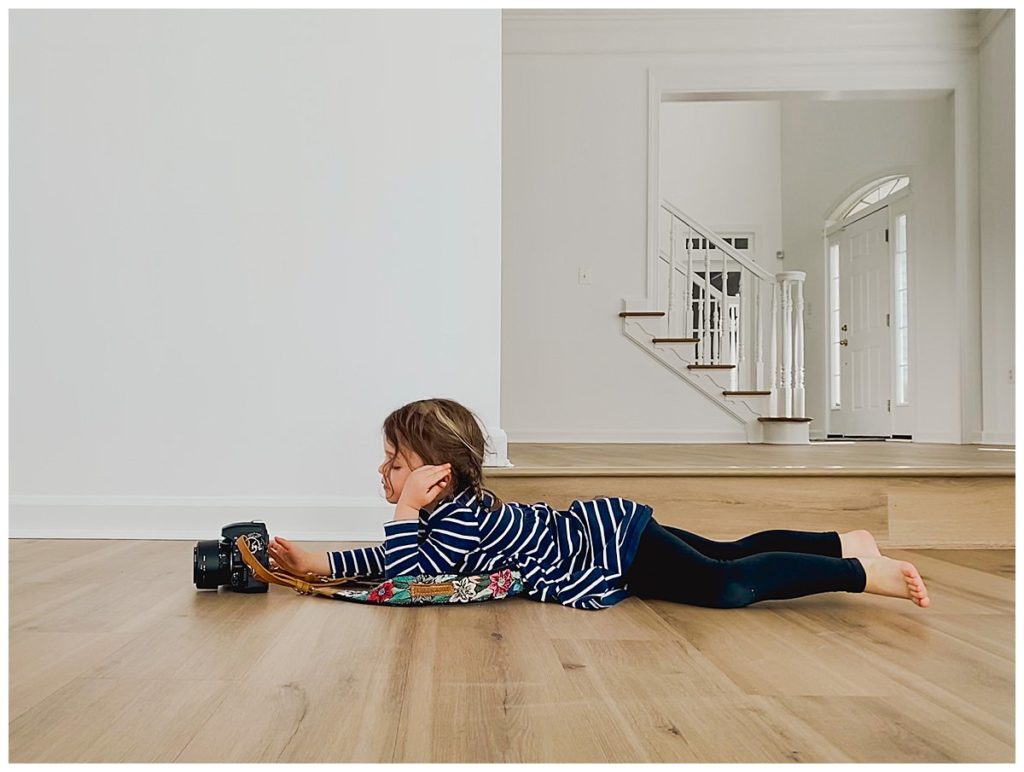
TIP #1: Take pictures in selfie mode, so your kid can see themselves. If you have been trying for a hot minute to get your child to look up so you can take the perfect picture, try flipping to your front facing camera and showing them the screen. They usually light up when they see themselves on camera which gives the perfect smiling face! I have chased my nieces around like this and usually ends in my favor.
TIP#2: Use Live Mode, not Portrait Mode– yes, there is a time Portrait Mode works wonderfully!! And there is a time it works not-so-wonderfully. For me, I couldn’t take pictures fast enough in Portrait Mode when chasing around the crazies and I found that I was missing “the moment”. It takes too long to reset when you are running after kids. Live Mode isn’t always the sharpest, but I am willing to sacrifice some clarity for better moment, Plus, it allows you to toggle in your edits to get a better frame (see video below), so you actually have multiple pictures in one.
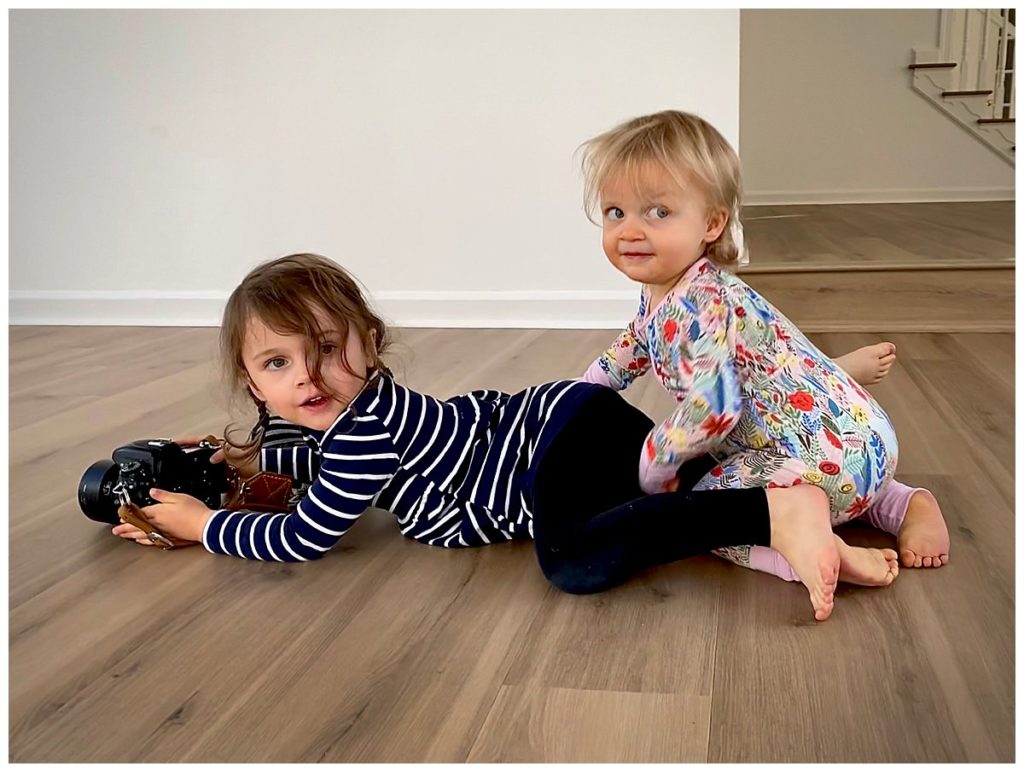
**If you find yourself liking more than one frame in your Live Picture, keep your finger on your screen while your slide the toggle (this keeps the “Make New Photo” display from popping up) and take a screen shot. Crop down later.
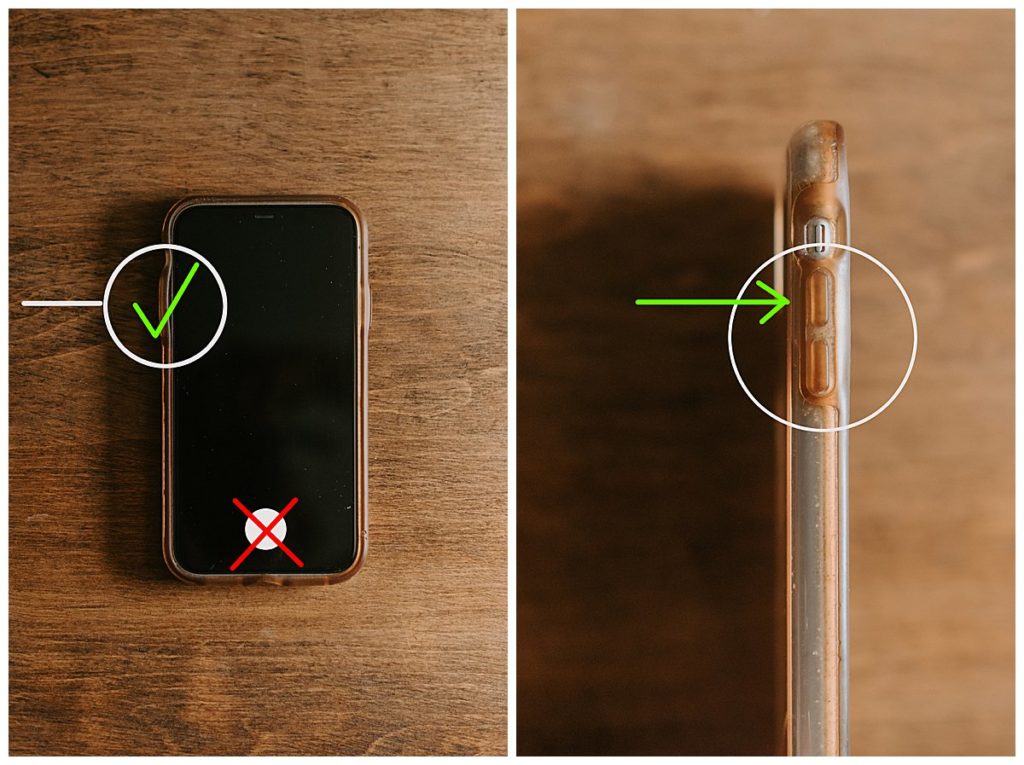
TIP # 3: Use the volume buttons, not the screen press button so you can easily hold your phone with one hand and freely move around. (You might have to change this in the settings of your camera app if your phone does not default to this option- google is your friend here). Right hand: wrapped around phone, pointer finger rapid firing on that volume button. Left hand: tickling legs and eating toes, getting my baby to smile.
TIP # 4: Natural, diffused light is the best. When photographing inside, turn off all indoor lights and get your babies near a window with light passing through a sheer curtain. Don’t have sheer curtains? A thin white shower curtain, sheet or piece of fabric would be just as good- clamp or tie to the curtain rod/shade.
Ideas: Move your craft table closer to the window for an afternoon. Turn the high chair towards the window light, instead of relying on overhead kitchen light. No windows in their bathroom for good light? Give them a bath in your master tub for the evening. Place their lovey, new toys or objects they love closer to the window knowing they will venture over to explore.
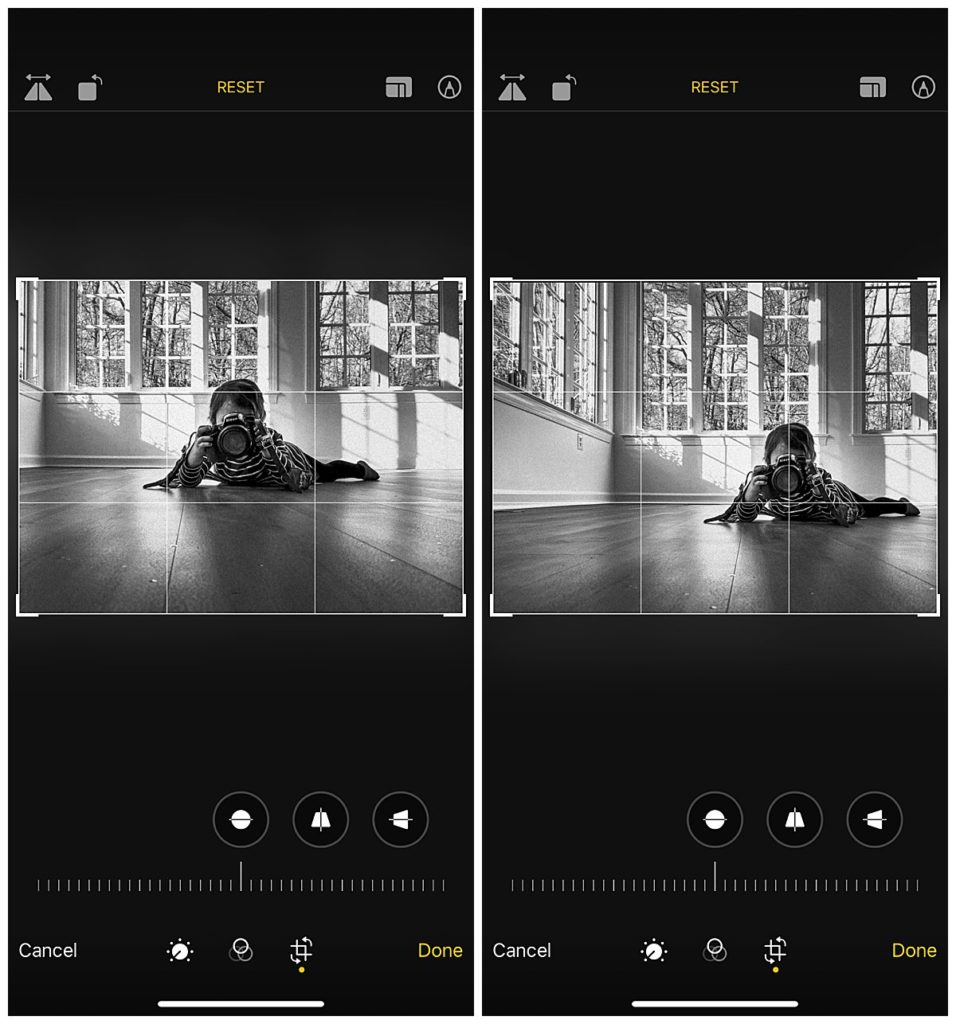
TIP # 5: Rule of Thirds– make your composition more interesting by following the rule of thirds. In your settings, choose to show the grid on your camera app screen so you can see the lines of intersection for the rule of thirds. You want your subjects eyes to be on the top horizontal line, or your focal point to fall on the intersection of the lines, not just plopped in the middle of your frame. This isn’t always the case, but typically helps make for more interesting composition.
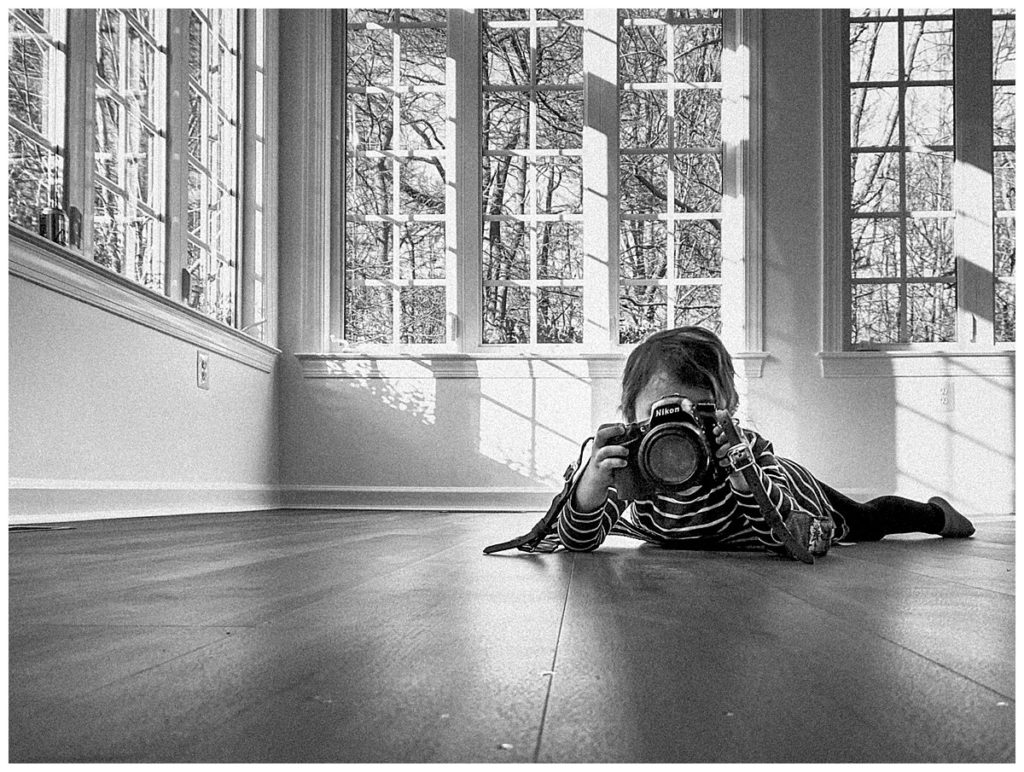
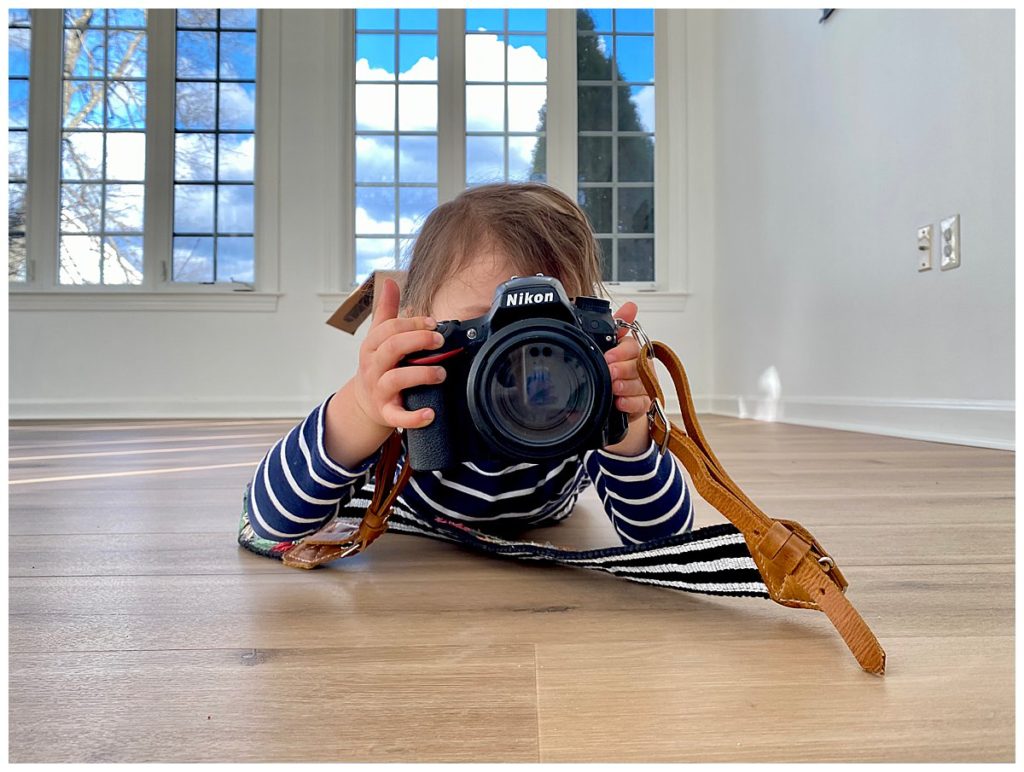
Intentional practice makes perfect. At the moment, I have 25,261 photos on my phone. That is a lot of practice…
Have questions? Want more detail? Comment below and I will do my best.
Enjoy.
Steph
xx.
Add a comment